
One of the verification methods for domain ownership is called Website Control (WSC). This involves creating an HTML file and uploading it to specific directory.
This guide will go over creating the file and uploading it to the required path.
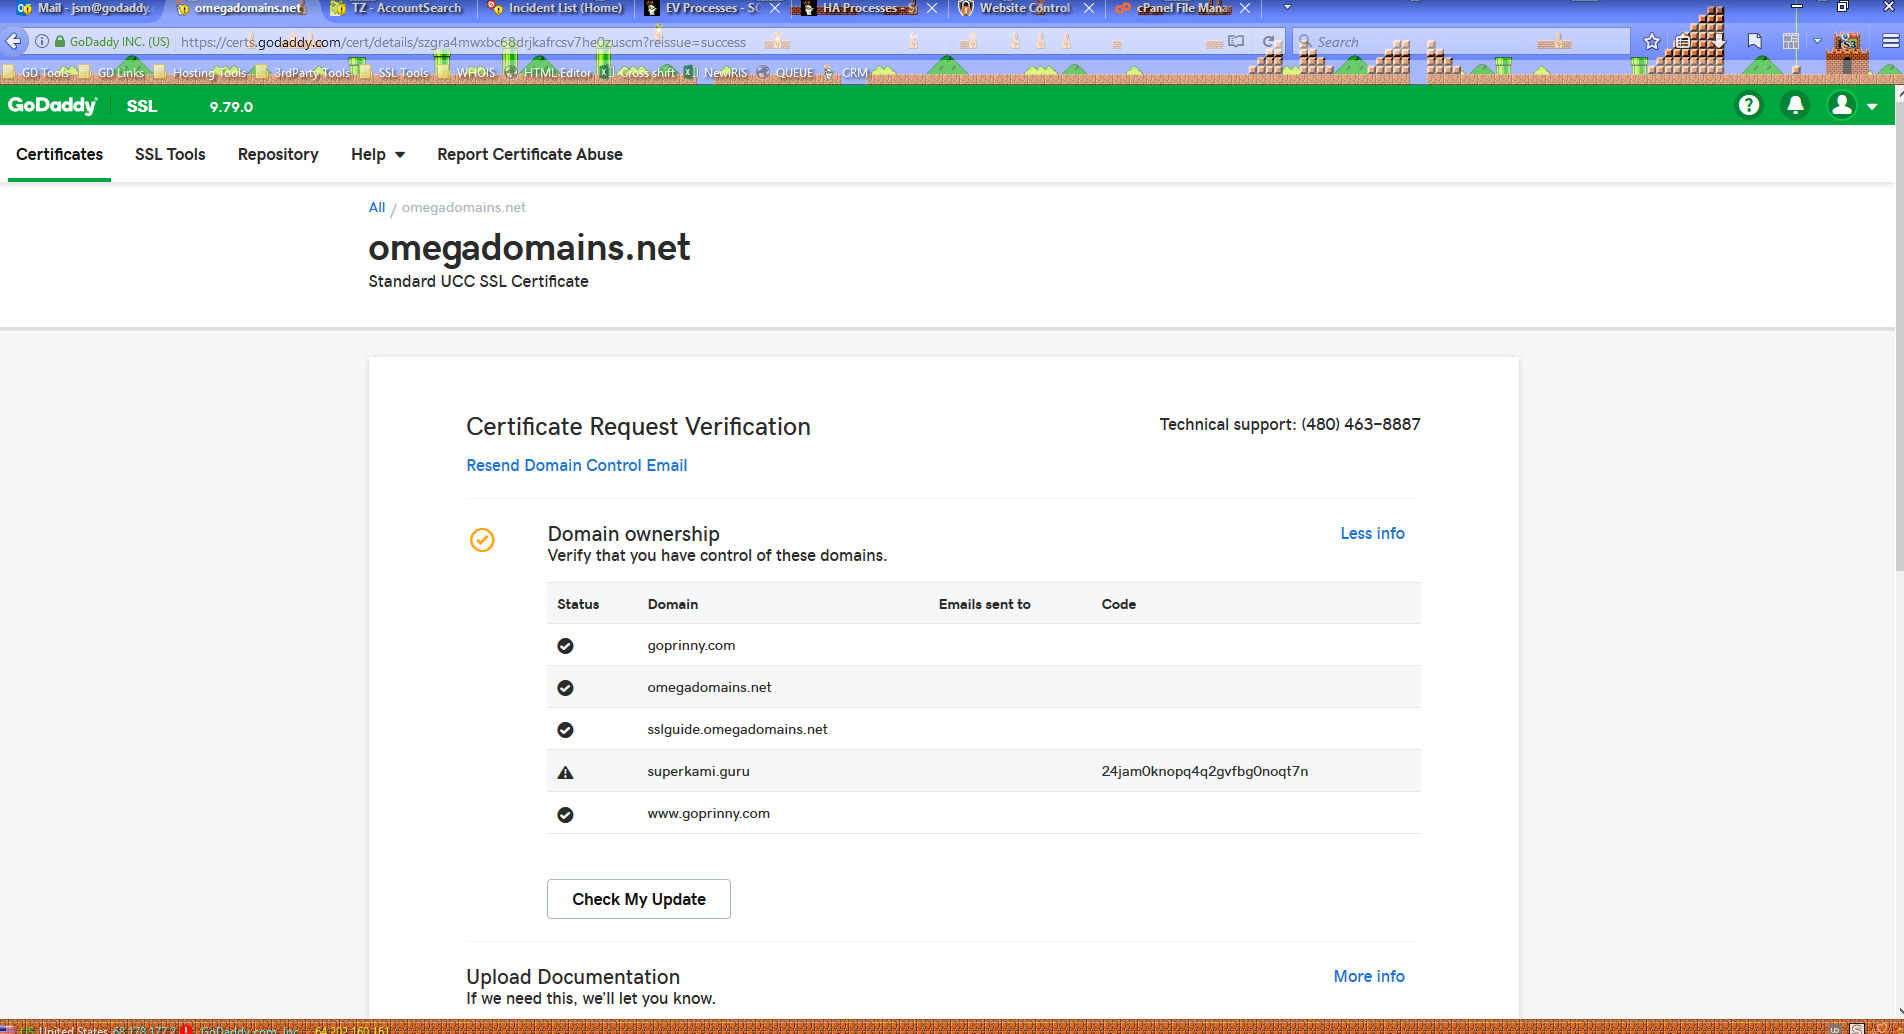
To begin, I'll be adding a new SAN to my omegadomains.net UCC SSL certificate.
The domain added is superkami.guru.
The verification code for this request is 24jam0knopq4q2gvfbg0noqt7n. The code is visible in the SSL manager, and is also emailed to the address on the account.
Note that the code is unique for every request, so will change every time a domain needs to be verified.
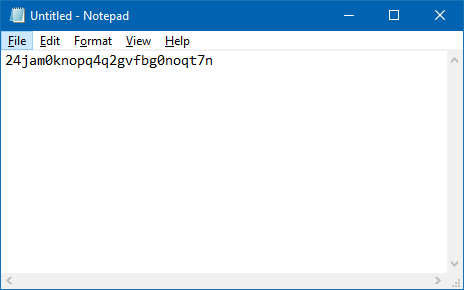
To verify a domain using WSC, we have to create an HTML file named godaddy.html (or starfield.html for Resellers) that will display the verification code on the page.
For the sake of this guide, I'll be using Notepad in Windows, but any basic text editor works. All that needs to be in the file is just the verification code. Any sort of HTML tags (HEAD, BODY, etc.) are not needed.
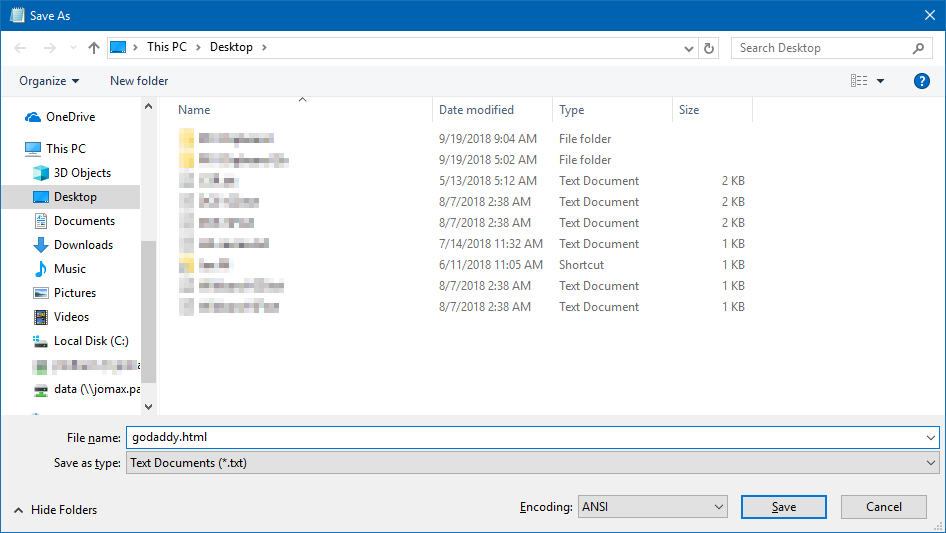
I'll save the text file to the desktop as godaddy.html.
Next is uploading the file to the required URL for validation.
In order to verify with WSC, the HTML file must resolve at:
http://[common name or SAN]/.well-known/pki-validation/godaddy.html (or starfield.html)
Specifically for this case, it must be http://superkami.guru/.well-known/pki-validation/godaddy.html.
A couple of notes for this:
•Even if the Common Name or SAN includes the "www" subdomain, the HTML file MUST resolve without it. So if the SAN I added was www.superkami.guru, the HTML file must still resolve off of superkami.guru. However, if the added SAN was help.superkami.guru, then the HTML file would need to resolve off of help.superkami.guru.
•The WSC verification system will not accept any redirects. So if there are any redirects in effect (i.e. redirecting from HTTP to HTTPS, or from the root domain to the "www" subdomain), they must be temporarily disabled.
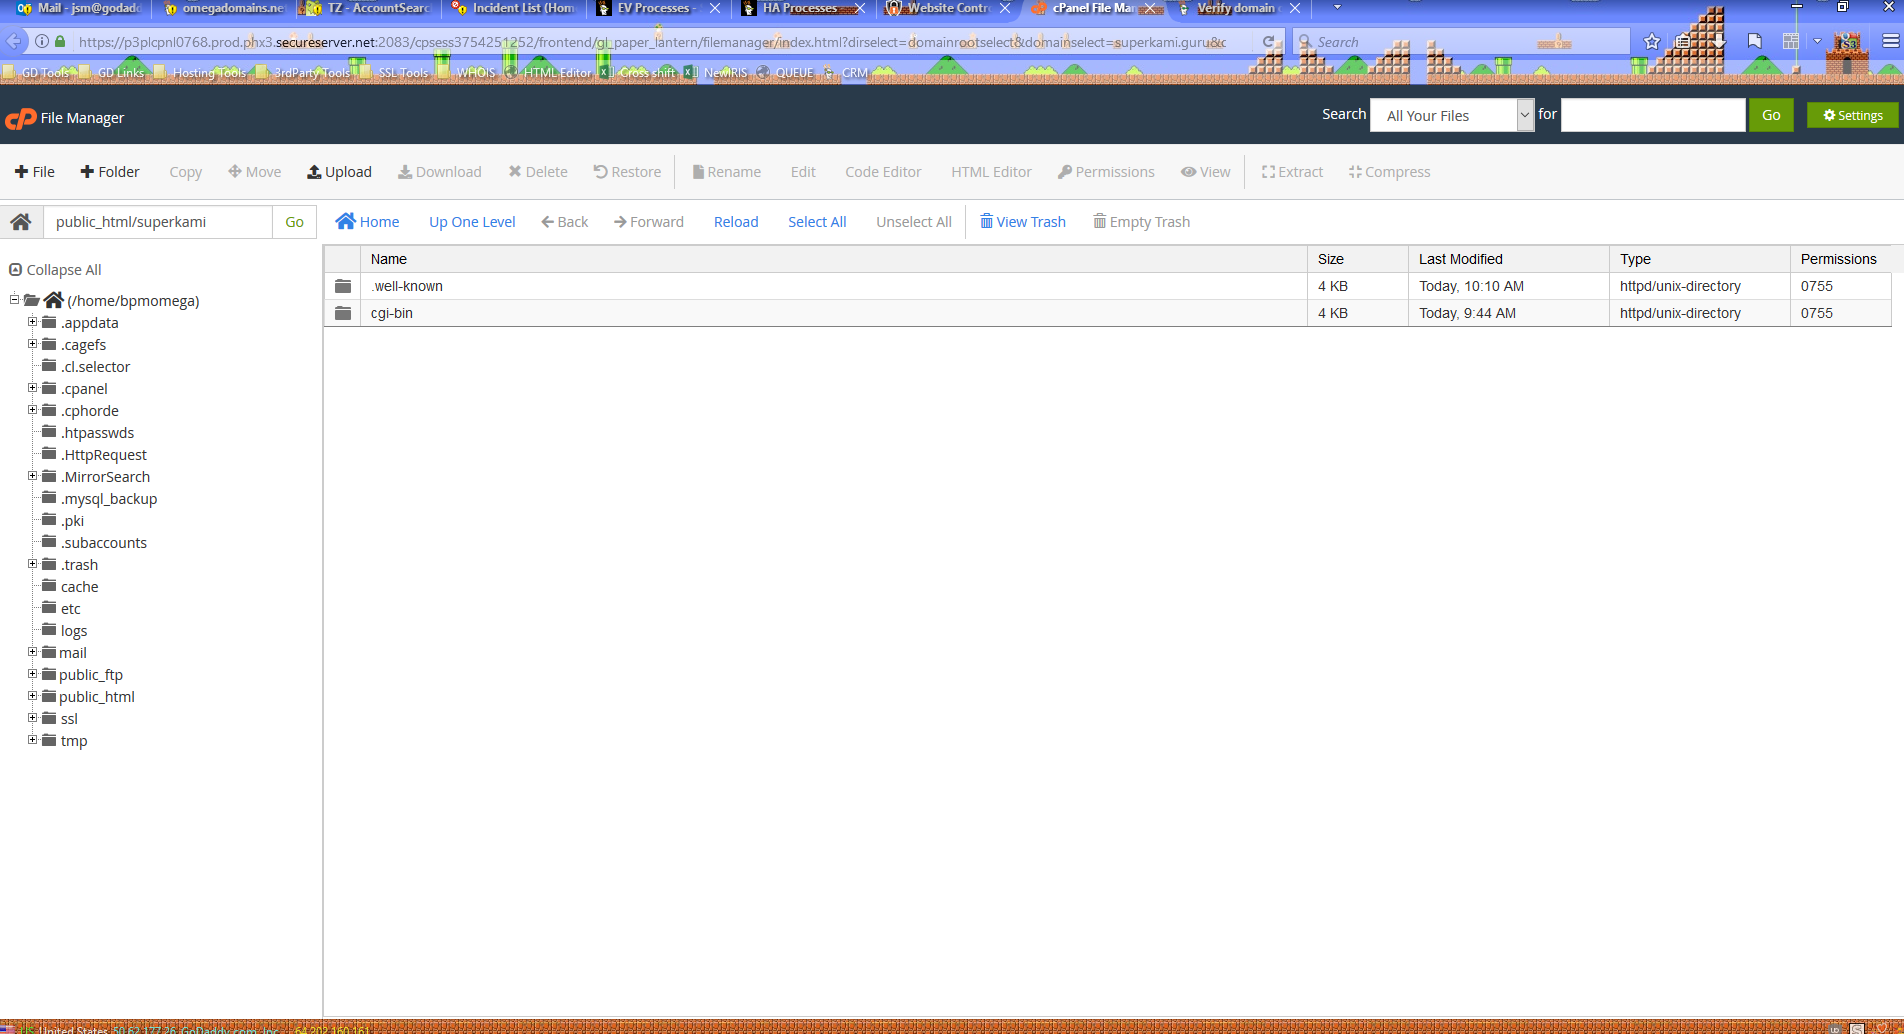
To begin, I'll need to create the correct directories needed for verification. For this, I'll be using the File Manager in cPanel.
Starting in the root directory for superkami.guru, I have to create a folder named .well-known (a period must be at the front of the folder name).
NOTE: Unlike Linux, Windows does not like folder names starting with a period. To get around this on Windows Server, you would need to name the folder .well-known. (with a period at the front and the end of the name). Windows will truncate the period at the end, and keep the one at the front.
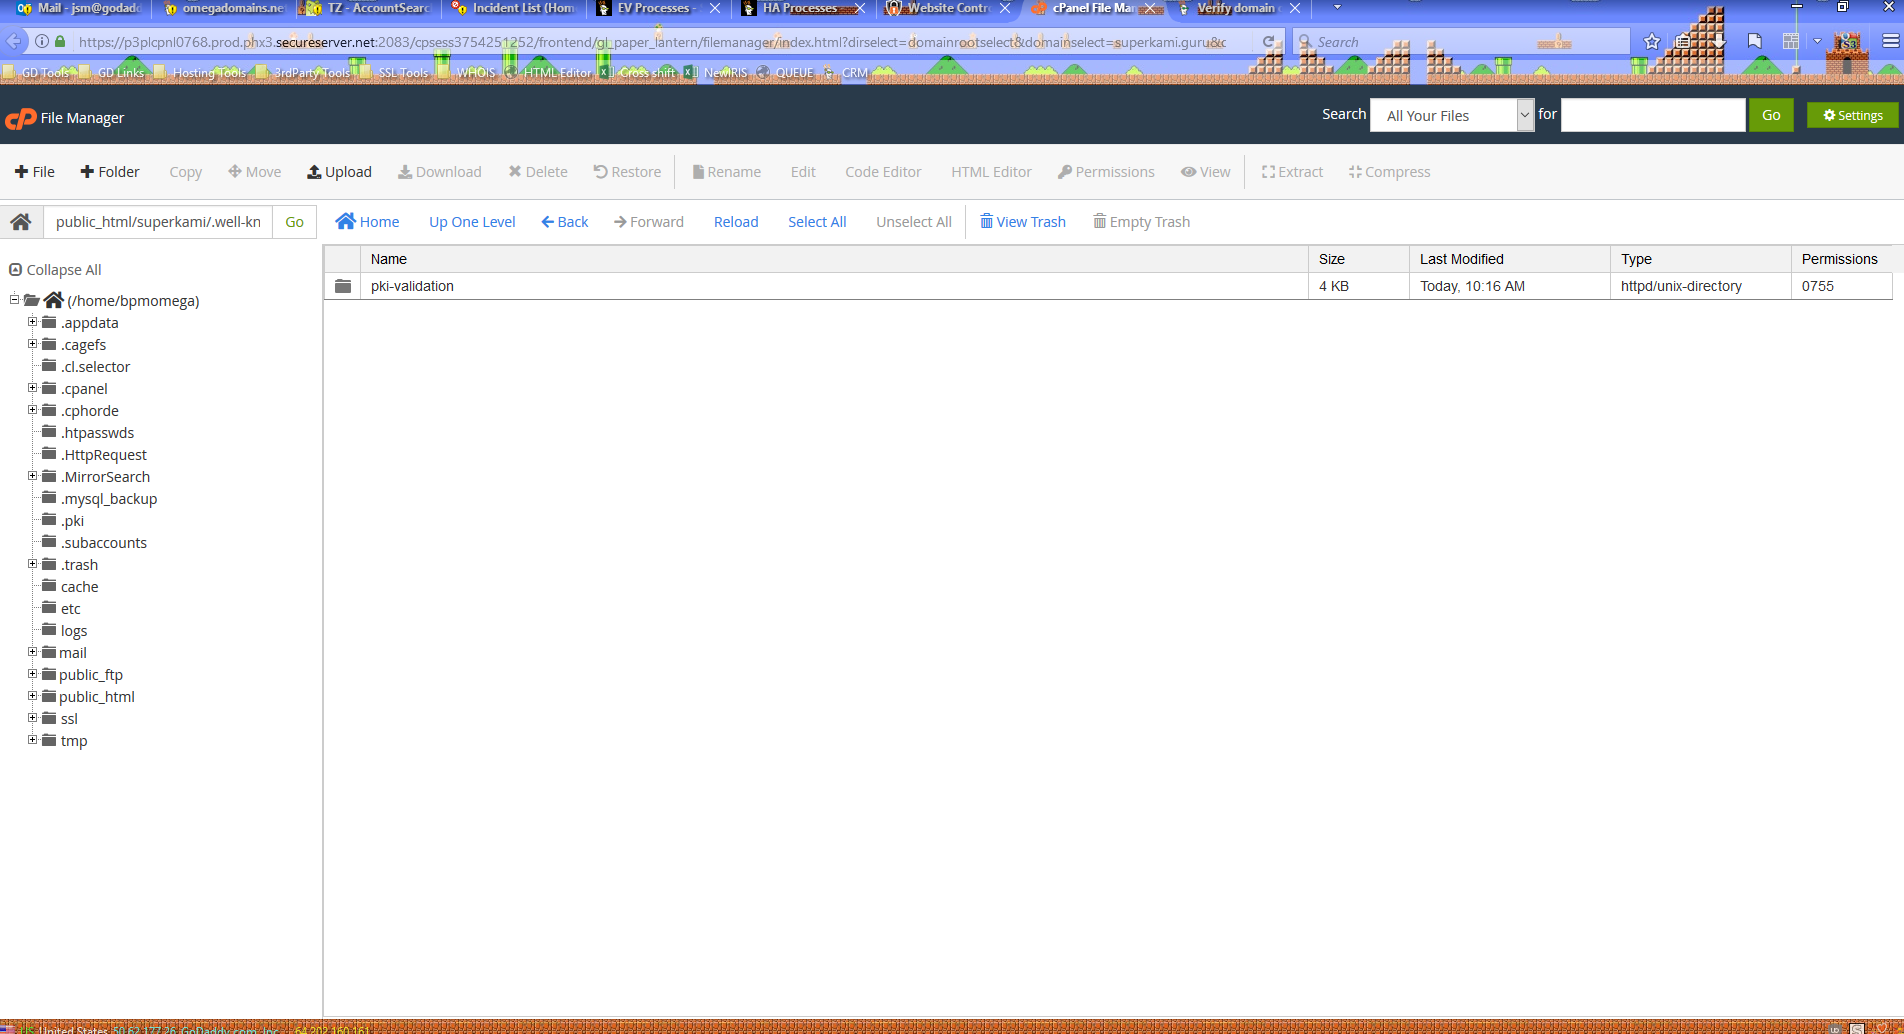
Within the .well-known folder, I need to create another folder named pki-validation within it.
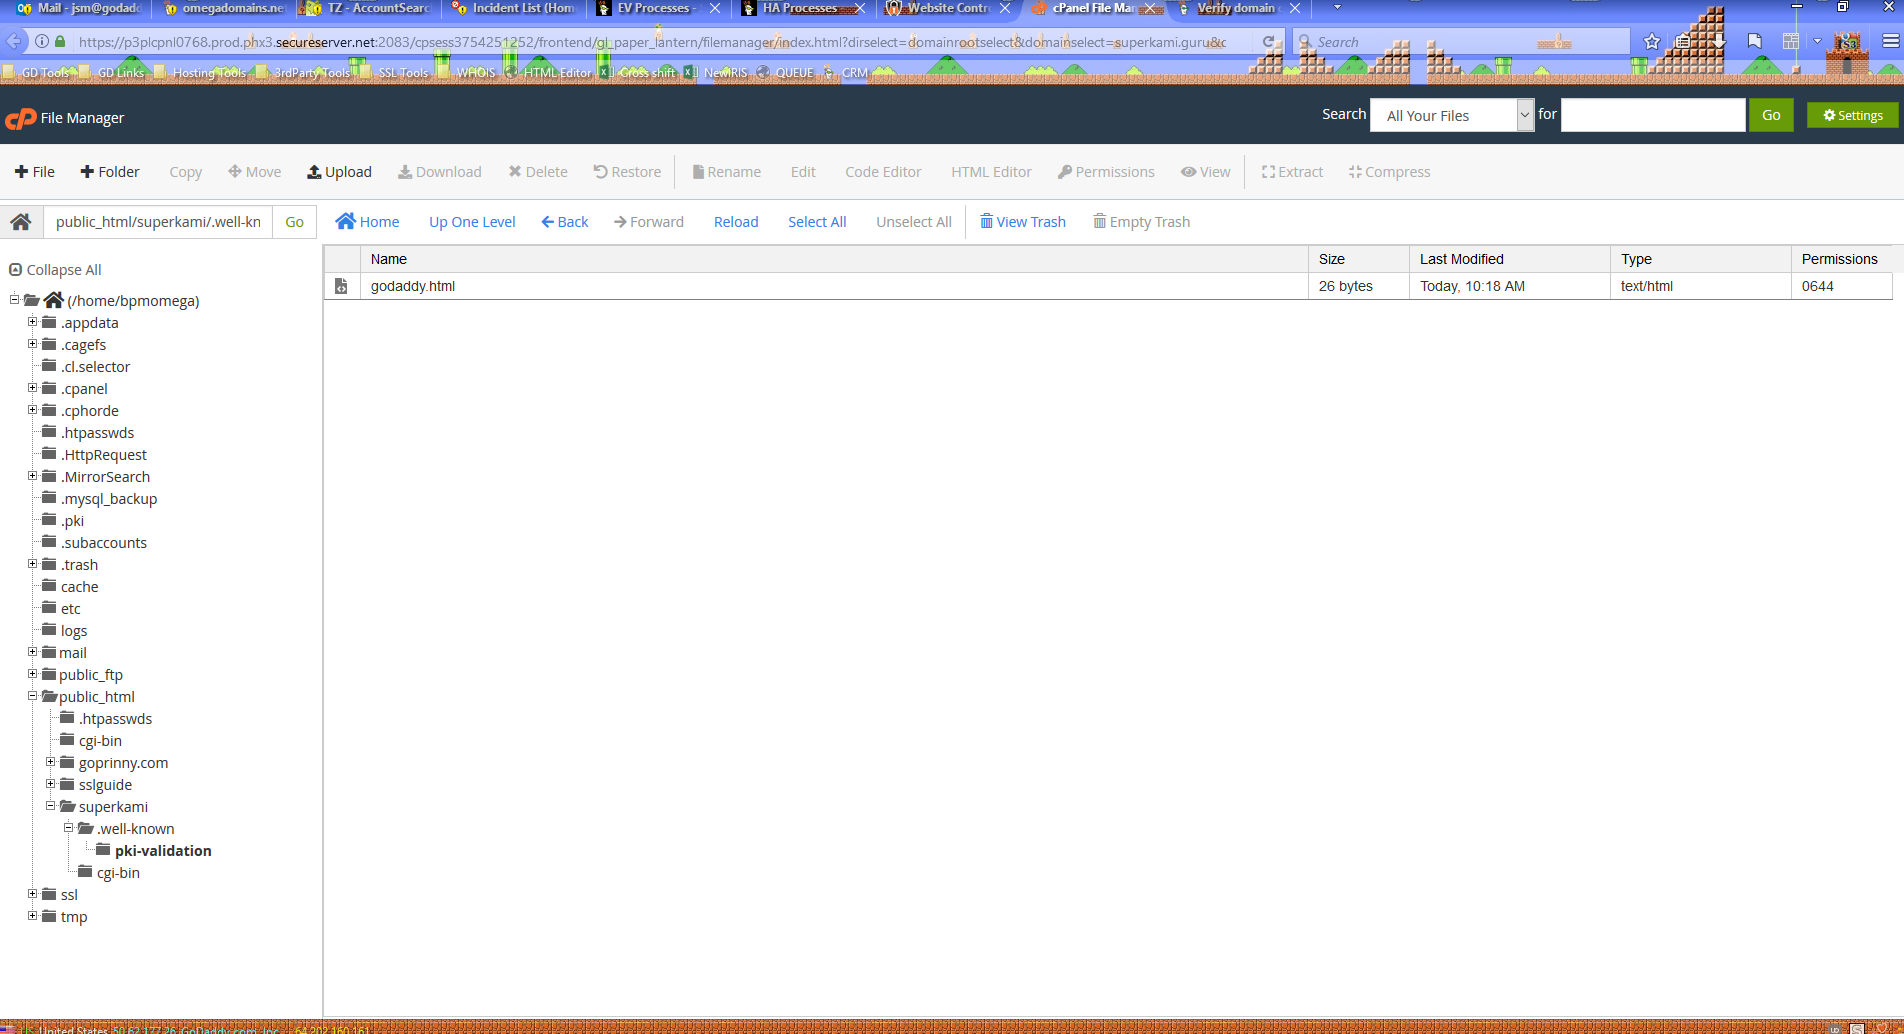
Finally, I need to upload the godaddy.html (or starfield.html) file within the pki-validation folder.
Now, if this is done correctly (and the domain resolves to the right IP address)...
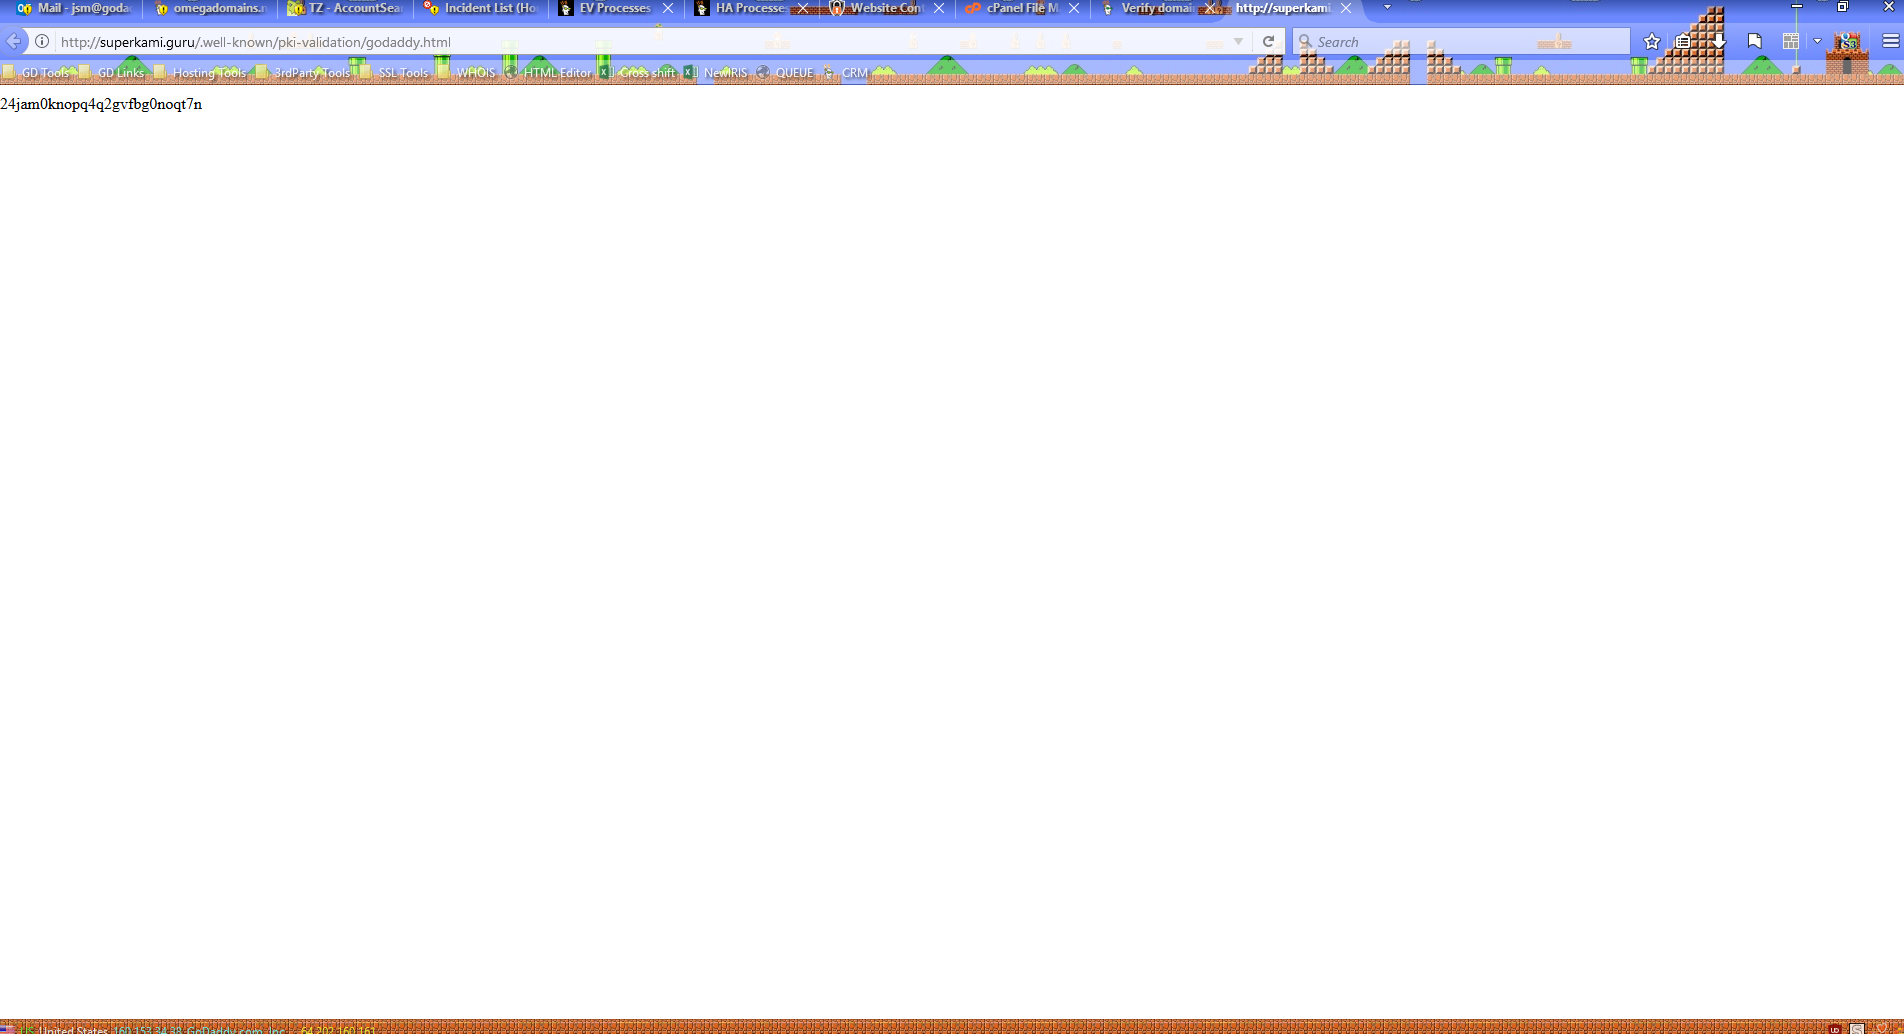
I can verify it by visiting http://superkami.guru/.well-known/pki-validation/godaddy.html and see the code there.
Since it works, and shows the correct code, I can click the Check My Update button in the SSL manager (or the Check Now button through the link in the email that's sent to the address on the account)...
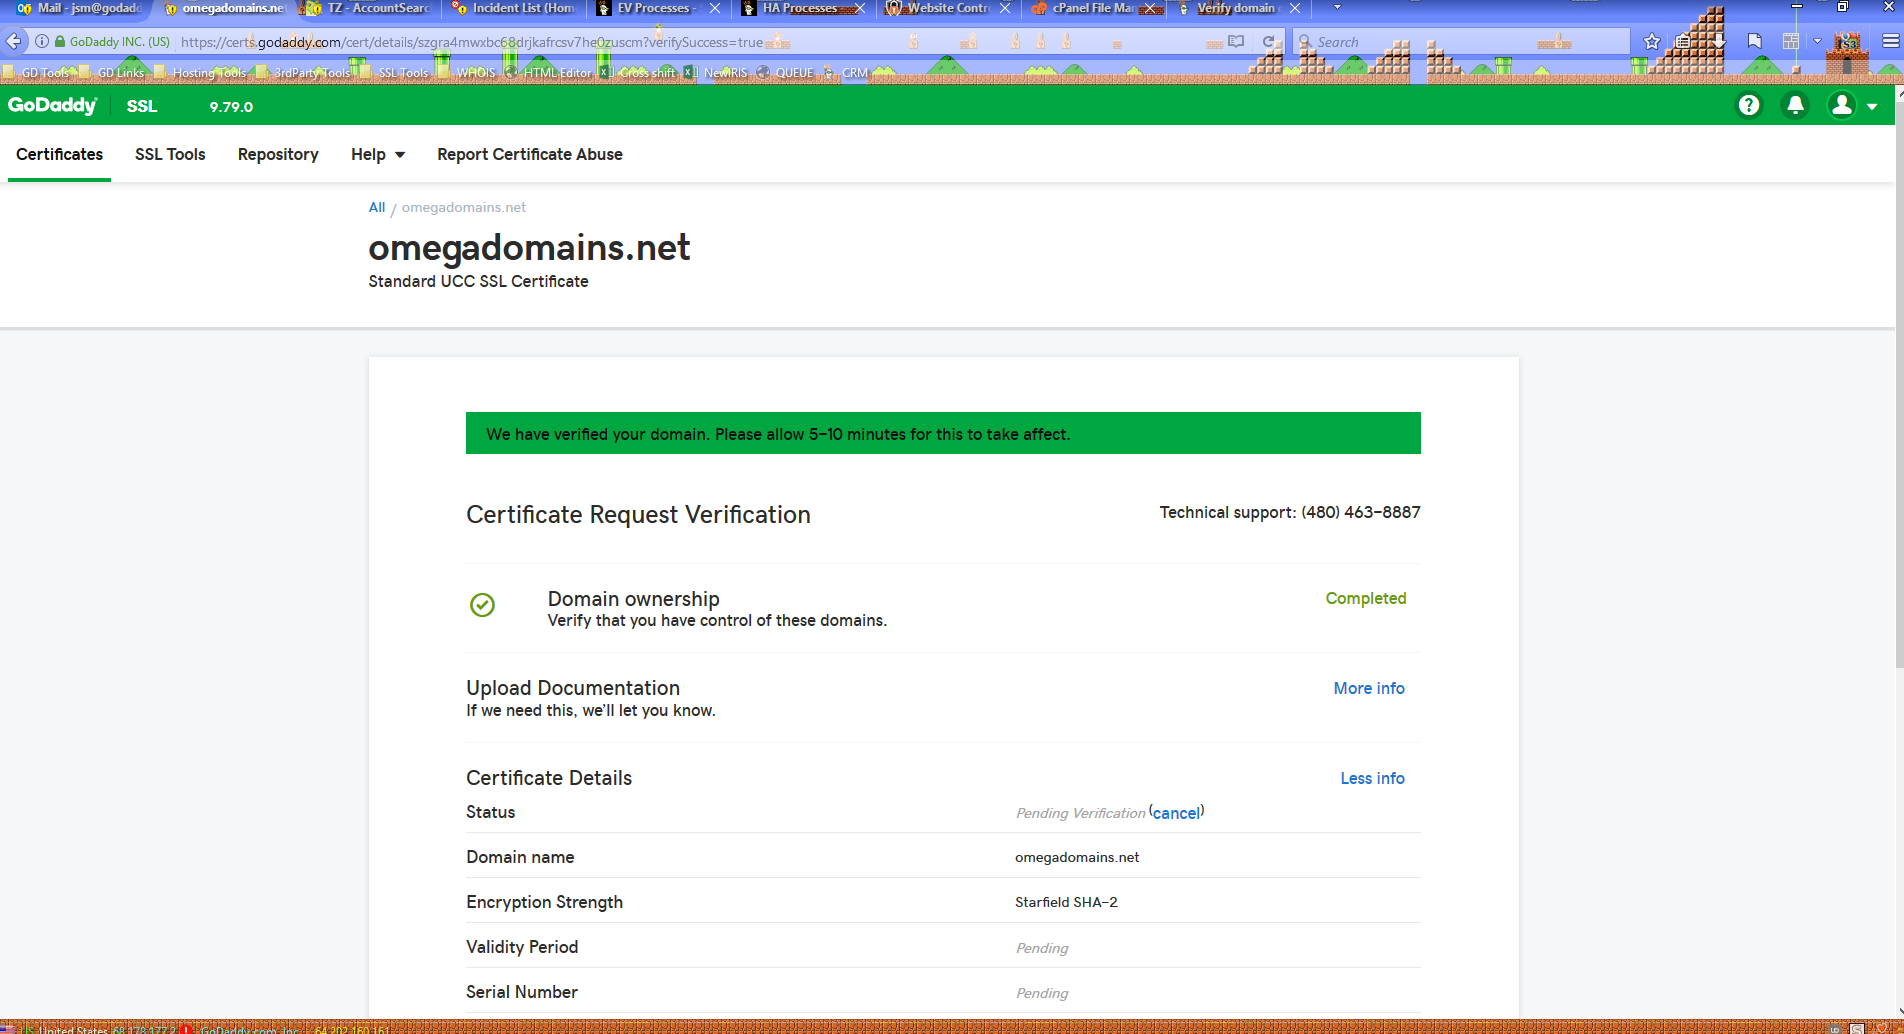
And success! The system was able to verify the HTML file.
With this completed, the godaddy.html (or starfield.html) file can be deleted, and redirects can be enabled again.
Some additional details can be found in this support article.
Once the certificate has been issued, I'll want to go into cPanel to make sure that the new version of the certificate has been correctly installed to all SANs.